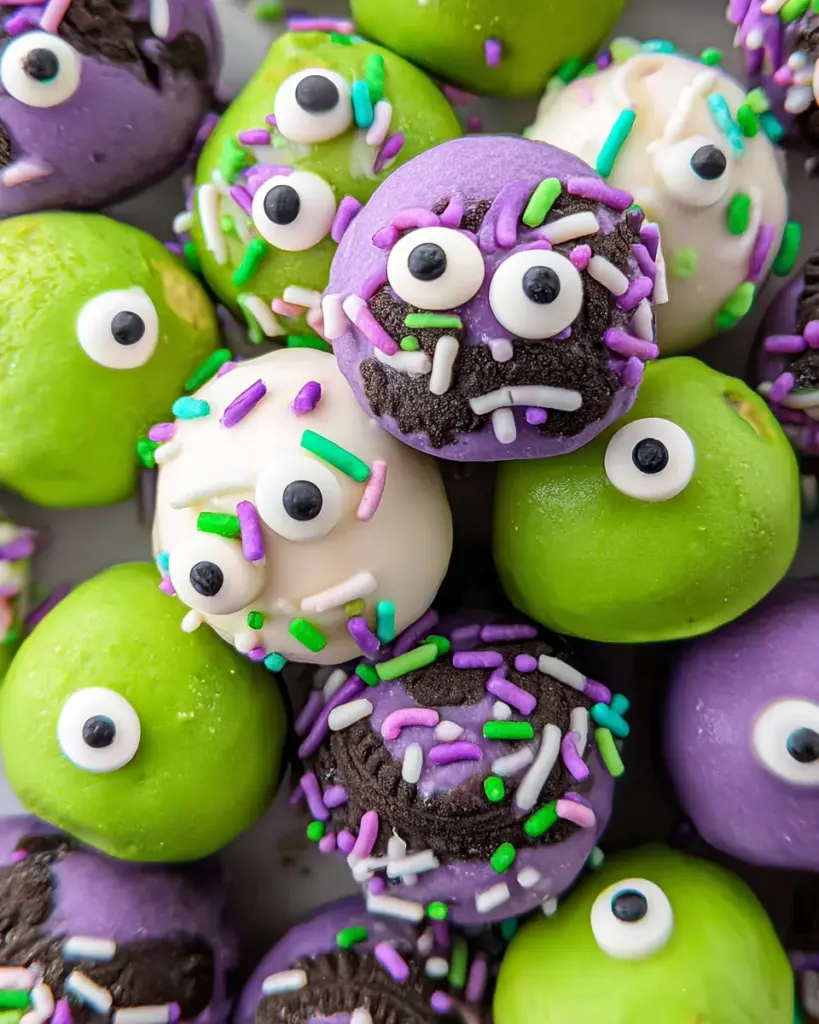
Monster Oreo Balls are an irresistible treat perfect for Halloween celebrations or any fun gathering. These delightful snacks combine the classic flavors of Oreos and cream cheese, making them a hit with kids and adults alike. Not only are they easy to prepare, but their vibrant colors and playful designs make them a standout dessert. Whether you’re hosting a party or looking for a creative activity with the kids, Monster Oreo Balls are sure to bring smiles to everyone’s faces!
Why You’ll Love This Recipe
- Easy to Make: With no baking required, anyone can whip up these delicious treats in no time.
- Customizable Designs: Get creative with the candy eyes and sprinkles to make each monster unique.
- Perfect for Any Occasion: While they’re great for Halloween, these treats can be enjoyed year-round at parties or gatherings.
- Fun Activity for Kids: Involve your little ones in the process and let them help create their own spooky monsters.
- Irresistibly Tasty: The combination of cookies and cream cheese is always a crowd-pleaser.
Tools and Preparation
To create these charming Monster Oreo Balls, you’ll need a few essential kitchen tools that will simplify the process.
Essential Kitchen Tools
- Food processor
- Mixing bowl
- Cookie scoop
- Parchment paper
- Microwave-safe bowl
- Forks or dipping tools
Why These Tools Matter
- Food processor: Quickly crushes Oreos into fine crumbs, saving you time and effort.
- Mixing bowl: A sturdy bowl ensures all ingredients are well combined without spillage.
- Cookie scoop: Helps form uniform balls for even coating and presentation.
- Microwave-safe bowl: Ideal for melting wafers evenly without burning.
Ingredients
Monster Oreo Balls are so easy to make and create the cutest Halloween critters with cookies, cream cheese, and candy melts.
Ingredients:
– 36 Oreos
– 8 ounces cream cheese (softened at room temperature)
– 1 teaspoon vanilla extract
– 2 cups white, light green, and purple melting wafers (each)
– 3 tablespoons crisco shortening
– Green, purple, and black jimmy sprinkles (long not round)
– Candy eyes (multiple sizes)
How to Make Monster Oreo Balls
Step 1: Crush the Oreos
- In a food processor, add Oreos (break them apart slightly while adding).
- Crush until they are fine crumbs.
Step 2: Mix Ingredients
- In a large mixing bowl, combine crushed Oreos, softened cream cheese, and vanilla extract.
- Mix with an electric hand mixer or stand mixer for 1-2 minutes until fully combined into one dough-like mixture.
Step 3: Form the Balls
- Using a 2 tablespoon cookie scoop, scoop dough from the bowl.
- Form into even, smooth balls using your hands.
- Place each ball on a large cookie sheet prepared with parchment paper.
Step 4: Chill the Balls
- Place the cookie sheet inside the refrigerator.
- Chill for 2 hours to allow them to firm up.
Step 5: Prepare Melting Wafers
- Near the end of the chill time, start preparing the melting wafers by placing one color in a microwave-safe bowl.
- Heat on 50% power or defrost mode for 1 minute; stir with a fork.
- Add 1 tablespoon of crisco and return to microwave for additional bursts of 30 seconds until smooth.
Step 6: Coat the Balls
- Dip each Oreo ball into the melted wafers using two forks or dipping tools.
- Ensure each ball is fully coated before placing it back on the cookie sheet.
- Scrape excess chocolate off by gently shaking or tapping.
Step 7: Add Decorations
- Immediately place candy eyes on top of each ball.
- Sprinkle green, purple, and black jimmies over them to create fun designs.
Step 8: Repeat for Each Color
- Repeat steps 5-7 for each color of melting wafers until all balls are coated.
Step 9: Final Chill Before Serving
- Allow all decorated Monster Oreo Balls to chill for another 30 minutes before serving.
Enjoy your delightful Monster Oreo Balls at your next gathering!
How to Serve Monster Oreo Balls
Monster Oreo Balls are not only delicious but also visually delightful, making them perfect for any Halloween gathering. Here are some fun ways to serve these adorable treats.
Individual Treat Bags
- Create small treat bags filled with Monster Oreo Balls. This is a great way for guests to take some home as a sweet memento.
Halloween Dessert Table
- Arrange the Monster Oreo Balls on a spooky-themed dessert table. Use decorative plates and spooky decorations to enhance the visual appeal.
Party Platters
- Serve the Monster Oreo Balls on large platters with other Halloween-themed snacks. This makes for an eye-catching centerpiece at your Halloween party.
Themed Cupcakes
- Place a Monster Oreo Ball atop cupcakes for an extra special touch. It adds a fun surprise for each cupcake served.
Trick-or-Treat Stations
- Set up a candy station with Monster Oreo Balls alongside other treats. Guests can mix and match their favorite sweets!
How to Perfect Monster Oreo Balls
For the best results when making Monster Oreo Balls, follow these helpful tips to ensure they turn out perfectly every time.
- Chill Thoroughly: Make sure to chill the formed balls for at least 2 hours before dipping. This helps them hold their shape during coating.
- Use Quality Ingredients: Opt for fresh Oreos and high-quality melting wafers. This enhances both flavor and appearance.
- Microwave in Intervals: When melting wafers, do it in short bursts and stir well in between to avoid burning and achieve a smooth texture.
- Add Fun Decorations: Get creative with sprinkles and candy eyes! Different arrangements can make each ball unique and festive.
- Scrape Excess Coating: After dipping, gently scrape off excess chocolate for a cleaner finish and better presentation.
- Store Properly: Keep any leftovers in an airtight container in the refrigerator to maintain freshness.
Best Side Dishes for Monster Oreo Balls
Pairing side dishes with your Monster Oreo Balls can elevate your Halloween spread. Here are some fantastic options to consider.
- Pumpkin Spice Pudding Cups: Creamy pumpkin pudding layered with whipped cream offers a delicious fall flavor complement.
- Ghoulish Guacamole: A vibrant green dip served with black tortilla chips adds a spooky touch while being tasty and healthy.
- Mummy Hot Dogs: Mini chicken chicken hot dogs wrapped in crescent dough, baked until golden, make for a fun finger food that kids will love.
- Ghostly Cheese Platter: A selection of cheeses shaped like ghosts or served with spooky crackers create an inviting snack option.
- Witch’s Broomsticks: Pretzel sticks paired with cheese slices provide a savory contrast to the sweetness of the Monster Oreo Balls.
- Cauldron Chili: A bubbling pot of chili can warm up your gathering while providing hearty sustenance amidst all the sweets.
Common Mistakes to Avoid
Making Monster Oreo Balls is a fun and simple process, but there are a few common mistakes to keep in mind to ensure your treats turn out perfectly.
- Skipping the Chilling Time: Not chilling the balls long enough can lead to a softer texture. Make sure to chill them for at least 2 hours before dipping.
- Overheating the Melting Wafers: Heating the wafers too much can cause them to seize up. Always use low power settings and stir frequently to achieve the right consistency.
- Neglecting Decoration Timing: Adding eyes and sprinkles too late means they won’t stick well. Decorate immediately after dipping while the coating is still wet for best results.
- Not Using Enough Cream Cheese: Insufficient cream cheese can result in dry balls that don’t hold together. Stick to the recommended amount for optimal moisture and flavor.
- Using Round Sprinkles: Using round sprinkles instead of long ones may not create the desired monster appearance. Opt for long jimmy sprinkles for a spookier look.
Refrigerator Storage
- Store Monster Oreo Balls in an airtight container.
- They will last up to 5 days in the refrigerator.
Freezing Monster Oreo Balls
- Place them in a freezer-safe container or zip-top bag.
- They can be frozen for up to 3 months. Thaw in the refrigerator before serving.
Reheating Monster Oreo Balls
- Oven: Preheat to 350°F (175°C) and warm for about 5 minutes.
- Microwave: Heat on low power for about 10-15 seconds until just warm.
- Stovetop: Place them in a covered pan over low heat, checking frequently.
Frequently Asked Questions
How do I make Monster Oreo Balls?
To make Monster Oreo Balls, blend Oreos with cream cheese and vanilla, form into balls, chill, then dip in melting wafers and decorate.
Can I customize my Monster Oreo Balls?
Absolutely! You can mix different colors of melting wafers or use various sprinkles to create unique designs.
What should I do if my chocolate is too thick?
If your melting wafers are too thick, add more shortening or a small amount of vegetable oil while mixing until smooth.
Can I use different cookies?
Yes! Feel free to experiment with other cookie flavors such as chocolate chip or peanut butter cookies for a twist on the classic recipe.
Are Monster Oreo Balls gluten-free?
If you use gluten-free Oreos, then yes, Monster Oreo Balls can be made gluten-free!
Conclusion
Monster Oreo Balls are not only adorable but also incredibly versatile. You can customize them with various colors and decorations to fit any occasion. Try making these delightful treats for your next gathering or Halloween party—they’re sure to impress everyone!

Monster Oreo Balls
- Total Time: 0 hours
- Yield: Approximately 24 servings 1x
Description
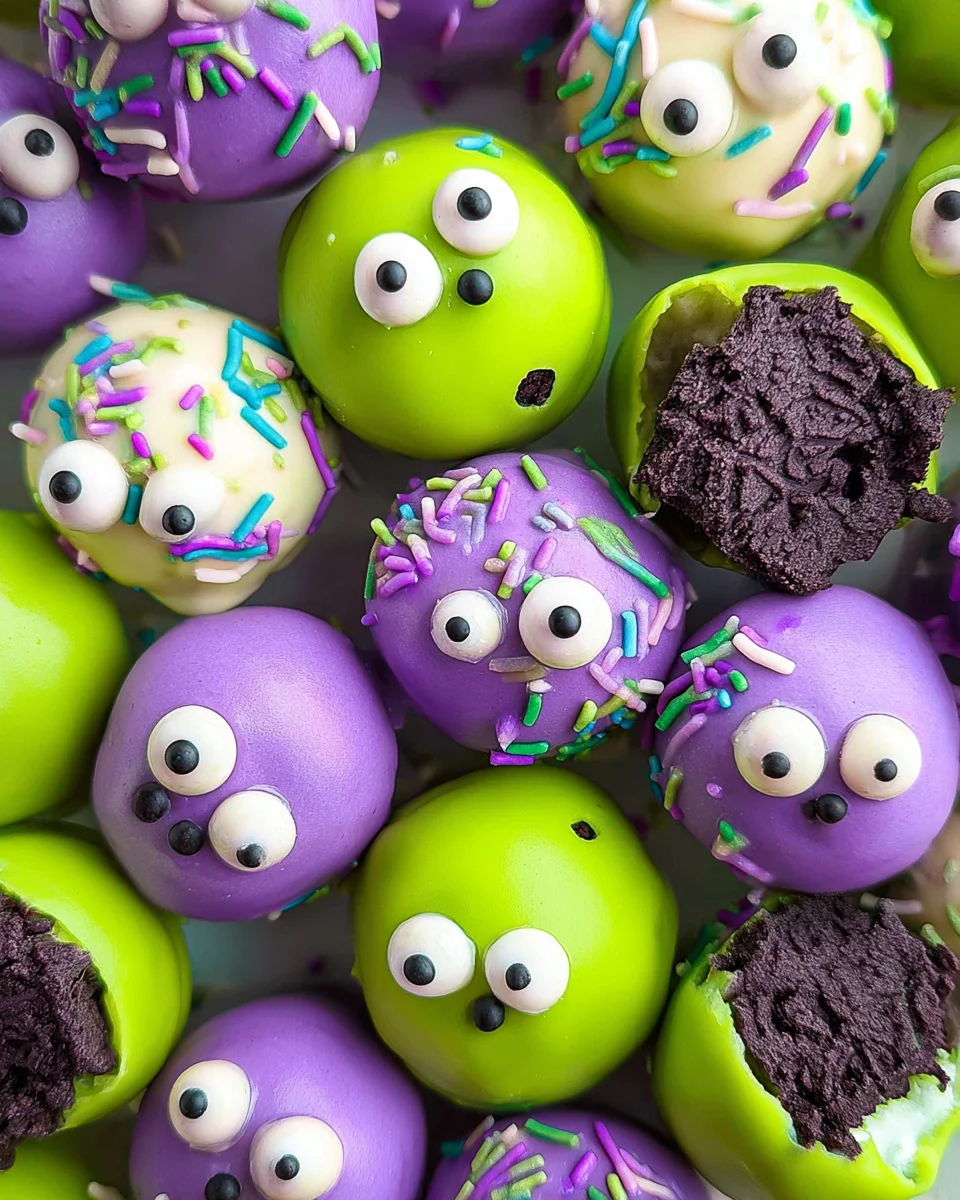
Indulge in the whimsical delight of Monster Oreo Balls, a no-bake treat that brings a playful twist to your Halloween celebrations or any festive gathering. These adorable snacks combine the rich flavors of Oreos and cream cheese, creating a creamy, irresistible filling. Coated in vibrant melting wafers and adorned with candy eyes and colorful sprinkles, they’re not just delicious—they’re a feast for the eyes too! Perfect for parties, these easy-to-make treats can be customized to suit various occasions, making them a fantastic activity for kids and adults alike. Get ready to impress your guests with these sweet monsters!
Ingredients
- 36 Oreos
- 8 ounces cream cheese (softened)
- 1 teaspoon vanilla extract
- 6 cups melting wafers (white, light green, purple)
- 3 tablespoons shortening
- Green, purple, and black jimmies (sprinkles)
- Candy eyes (various sizes)
Instructions
- Crush the Oreos in a food processor until fine crumbs form.
- In a mixing bowl, combine crushed Oreos with softened cream cheese and vanilla extract; mix until well blended.
- Form the mixture into smooth balls using a cookie scoop; place on parchment-lined cookie sheets.
- Chill the formed balls in the refrigerator for at least 2 hours.
- Melt the melting wafers in intervals in a microwave-safe bowl; stir in shortening until smooth.
- Dip each ball into melted wafers until fully coated; return to cookie sheets.
- Decorate immediately with candy eyes and sprinkles while coating is still wet.
- Chill for an additional 30 minutes before serving.
- Prep Time: 20 minutes
- Cook Time: n/a
- Category: Dessert
- Method: No-bake
- Cuisine: American
Nutrition
- Serving Size: 1 ball (30g)
- Calories: 130
- Sugar: 12g
- Sodium: 65mg
- Fat: 7g
- Saturated Fat: 4g
- Unsaturated Fat: 2g
- Trans Fat: 0g
- Carbohydrates: 16g
- Fiber: 0g
- Protein: 1g
- Cholesterol: 10mg