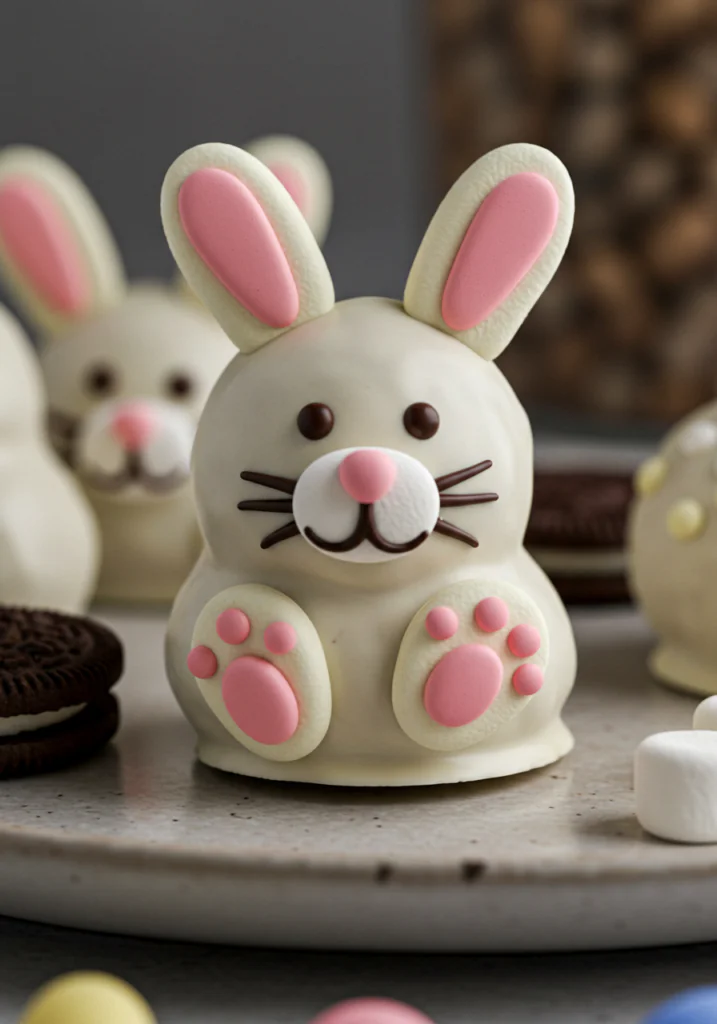
These Bunny Butt Oreo Balls are a fun and festive treat, perfect for Easter or any spring celebration! These no-bake, easy-to-make Oreo truffles are shaped like bunny butts, complete with little white “paw prints” for added cuteness. The rich and creamy Oreo filling is dipped in white chocolate, making these little bites of joy irresistible to both kids and adults alike!
Why You’ll Love These Bunny Butt Oreo Balls:
- No-Bake: Super easy and quick to prepare with just a few simple ingredients.
- Adorable and Fun: Shaped like bunny butts, these are perfect for Easter parties, spring gatherings, or as a fun treat for kids.
- Rich and Creamy: The Oreo filling combined with chocolate makes for an indulgent, melt-in-your-mouth experience.
- Customizable: You can decorate the bunny butts however you like, making them your own.
Ingredients for Bunny Butt Oreo Balls:
- 1 package (15.25 oz) Oreo cookies
- 8 oz cream cheese, softened
- 1 teaspoon vanilla extract (optional)
- 2 cups white chocolate chips (or almond bark)
- 1 tablespoon vegetable oil (for smooth dipping)
- 1/2 cup mini marshmallows (cut in half for the “feet”)
- 1/4 cup pink or red candy melts (for the “paws” or nose)
- 1 tablespoon dark chocolate or black candy melts (for detailing)
Tools You’ll Need:
- Food processor or large plastic bag (for crushing Oreos)
- Mixing bowl
- Spoon or small cookie scoop
- Baking sheet
- Wax paper or parchment paper
- Microwave-safe bowl for melting chocolate
- Toothpicks or small piping bag for decorating
How to Make Bunny Butt Oreo Balls:
Step 1: Prepare the Oreo Filling In a food processor or by hand, crush the Oreo cookies into fine crumbs (you can place them in a zip-top bag and crush with a rolling pin if you don’t have a food processor).
Transfer the crumbs to a large mixing bowl.
Add the softened cream cheese and vanilla extract (if using), and mix until well combined. You should have a thick, dough-like mixture.
Step 2: Shape the Oreo Balls Using a spoon or small cookie scoop, take a small portion of the Oreo mixture and roll it into a ball (about 1-inch in diameter).
Place the balls on a baking sheet lined with wax paper or parchment paper.
Chill the balls in the refrigerator for at least 30 minutes to firm up.
Step 3: Coat the Balls in Chocolate While the Oreo balls are chilling, melt the white chocolate chips with the vegetable oil in the microwave in 30-second intervals, stirring in between, until fully smooth and melted.
Carefully dip each chilled Oreo ball into the melted white chocolate, using a fork to lift it out and letting any excess chocolate drip off.
Place the dipped balls back on the baking sheet.
Step 4: Make the Bunny Butt Details Once the white chocolate coating has set slightly but isn’t fully hardened, gently press two mini marshmallow halves onto the bottom of each Oreo ball to create the “feet” of the bunny butt.
For the “paws,” melt the pink or red candy melts and use a toothpick or piping bag to place a small dot of pink in the center of each marshmallow half.
Using the dark chocolate or black candy melts, add a small dot to the center of the white chocolate coating above the marshmallow for the bunny’s tail.
Step 5: Final Chill and Serve Allow the Bunny Butt Oreo Balls to fully set by chilling them in the refrigerator for another 30 minutes.
Once the chocolate is set and hardened, your adorable Bunny Butt Oreo Balls are ready to be served!
Serving Suggestions:
- Serve these cute Oreo balls at Easter brunch, a spring picnic, or a kids’ party.
- Display them in a fun decorative bowl or arrange them on a platter for a festive touch.
- Pair with other themed treats like carrot cake cupcakes or pastel-colored candy.
Tips for the Best Bunny Butt Oreo Balls:
- Chill the Balls: Be sure to chill the Oreo balls before dipping in chocolate to prevent them from falling apart during the coating process.
- Creative Toppings: You can experiment with different colors for the “paws” or tail, using pastel candy melts or sprinkles for a fun twist.
- Use a Candy Melts Melter: For easy and consistent melting, a candy melts melter can help to keep your chocolate smooth for dipping.
Storage Instructions:
- Store in the fridge: Keep your Bunny Butt Oreo Balls in an airtight container in the refrigerator for up to a week.
- Freezing: You can also freeze these treats for up to 2 months. Just place them in a single layer on a baking sheet, freeze, then transfer to a sealed bag or container.
Frequently Asked Questions (FAQ):
Q1: Can I use dark chocolate instead of white chocolate?
Yes! You can definitely use dark or milk chocolate if you prefer. Just make sure it’s melted smoothly for dipping.
Q2: Can I make these ahead of time?
Absolutely! These Oreo balls store really well in the fridge, so you can make them a day or two before your event.
Q3: How can I make the Bunny Butt Oreo Balls even cuter?
Try adding a little extra detail by using colored sprinkles for the tail or using pastel candy melts for a more Easter-themed look.
Conclusion: A Sweet and Fun Easter Treat
These Bunny Butt Oreo Balls are an easy, fun, and delicious treat that will have everyone smiling. They’re perfect for Easter celebrations or any time you want to add a little whimsy to your dessert table!
Did you make these Bunny Butt Oreo Balls? Share your photos and thoughts on Pinterest!
Preparation Time: 20 minutes
Chill Time: 1 hour
Cuisine: American, Dessert, Easter
Nutritional Information (per Oreo ball):
- Calories: 160
- Protein: 1g
- Carbohydrates: 21g
- Fat: 9g
- Fiber: 1g
Enjoy every sweet bite of these adorable Bunny Butt Oreo Balls!
Print
Bunny Butt Oreo Balls
- Total Time: 1 hour 20 minutes
Description
These Bunny Butt Oreo Balls are a fun and festive treat, perfect for Easter or any spring celebration! These no-bake, easy-to-make Oreo truffles are shaped like bunny butts, complete with little white “paw prints” for added cuteness. The rich and creamy Oreo filling is dipped in white chocolate, making these little bites of joy irresistible to both kids and adults alike!
Ingredients
- 1 package (15.25 oz) Oreo cookies
- 8 oz cream cheese, softened
- 1 teaspoon vanilla extract (optional)
- 2 cups white chocolate chips (or almond bark)
- 1 tablespoon vegetable oil (for smooth dipping)
- 1/2 cup mini marshmallows (cut in half for the “feet”)
- 1/4 cup pink or red candy melts (for the “paws” or nose)
- 1 tablespoon dark chocolate or black candy melts (for detailing)
Instructions
Step 1: Prepare the Oreo Filling In a food processor or by hand, crush the Oreo cookies into fine crumbs (you can place them in a zip-top bag and crush with a rolling pin if you don’t have a food processor).
Transfer the crumbs to a large mixing bowl.
Add the softened cream cheese and vanilla extract (if using), and mix until well combined. You should have a thick, dough-like mixture.
Step 2: Shape the Oreo Balls Using a spoon or small cookie scoop, take a small portion of the Oreo mixture and roll it into a ball (about 1-inch in diameter).
Place the balls on a baking sheet lined with wax paper or parchment paper.
Chill the balls in the refrigerator for at least 30 minutes to firm up.
Step 3: Coat the Balls in Chocolate While the Oreo balls are chilling, melt the white chocolate chips with the vegetable oil in the microwave in 30-second intervals, stirring in between, until fully smooth and melted.
Carefully dip each chilled Oreo ball into the melted white chocolate, using a fork to lift it out and letting any excess chocolate drip off.
Place the dipped balls back on the baking sheet.
Step 4: Make the Bunny Butt Details Once the white chocolate coating has set slightly but isn’t fully hardened, gently press two mini marshmallow halves onto the bottom of each Oreo ball to create the “feet” of the bunny butt.
For the “paws,” melt the pink or red candy melts and use a toothpick or piping bag to place a small dot of pink in the center of each marshmallow half.
Using the dark chocolate or black candy melts, add a small dot to the center of the white chocolate coating above the marshmallow for the bunny’s tail.
Step 5: Final Chill and Serve Allow the Bunny Butt Oreo Balls to fully set by chilling them in the refrigerator for another 30 minutes.
Once the chocolate is set and hardened, your adorable Bunny Butt Oreo Balls are ready to be served!
Notes
- Chill the Balls: Be sure to chill the Oreo balls before dipping in chocolate to prevent them from falling apart during the coating process.
- Creative Toppings: You can experiment with different colors for the “paws” or tail, using pastel candy melts or sprinkles for a fun twist.
- Use a Candy Melts Melter: For easy and consistent melting, a candy melts melter can help to keep your chocolate smooth for dipping.
- Prep Time: 20 minutes
- Cook Time: 1 hour
- Cuisine: American, Dessert, Easter